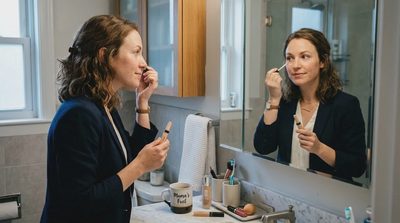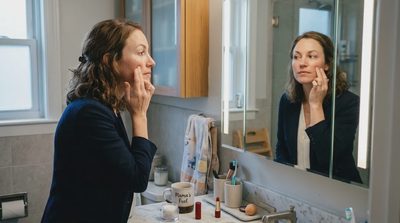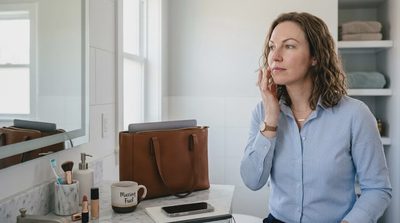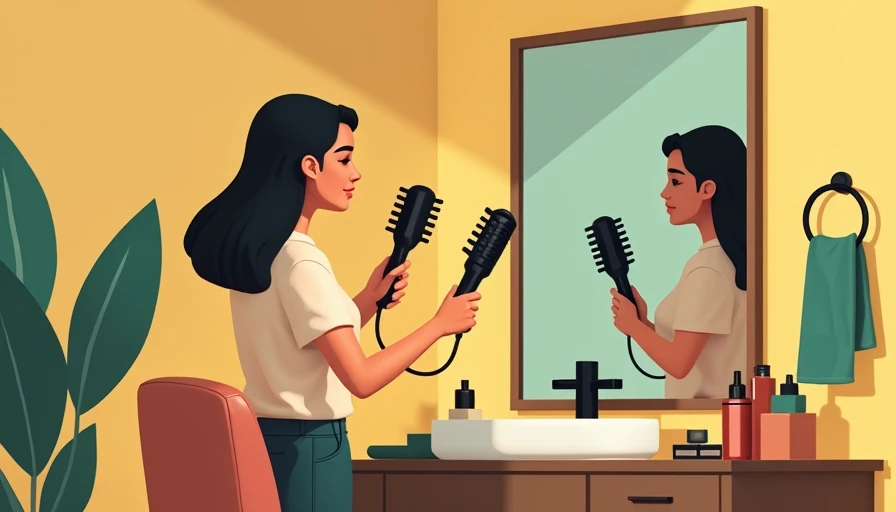
A 3 prong hair curler can give you loose, tidy waves without requiring a 45-minute styling session or professional technique. For a busy work morning, that matters. You want hair that looks intentional in a conference room, not curls that seem designed for a ring light. I tested the idea against real-life standards: a rushed breakfast, a commute, fluorescent office lighting, and an afternoon pickup. If it can't survive a Tuesday, it's not worth it.
The basic design has three heated barrels attached to one handle. Instead of wrapping one section around a single wand, you place a section between the barrels, clamp or press, hold briefly, and release. The result is a repeating S-shaped wave. That pattern is softer than a traditional curling iron curl and usually faster to create across medium or long hair.
What a 3 prong hair curler actually does
The appeal is consistency. A single-barrel iron can produce beautiful curls, but the shape depends on how tightly you wrap, how long you hold, and whether you remember which direction you used on the last section. A 3 prong hair curler reduces some of that guesswork. Its barrels create several bends at once, so the finished style looks relaxed rather than overly curled.
This tool works especially well on shoulder-length hair, long layers, and blunt ends that need movement. It is less useful if you want tight ringlets, a smooth blowout, or a very precise vintage curl. The waves tend to be wider and more uniform. That is helpful for office hair because the finish looks polished without looking overworked.
Barrel spacing matters. Narrow gaps create a more visible wave, while wider spacing gives a softer bend. For fine hair, adjustable temperature is more important than maximum heat. For thick or resistant hair, ceramic or tourmaline-coated barrels and a secure clamp can make styling more efficient. Neither feature replaces technique, but both can reduce repeat passes and unnecessary heat exposure.
How to use it before work
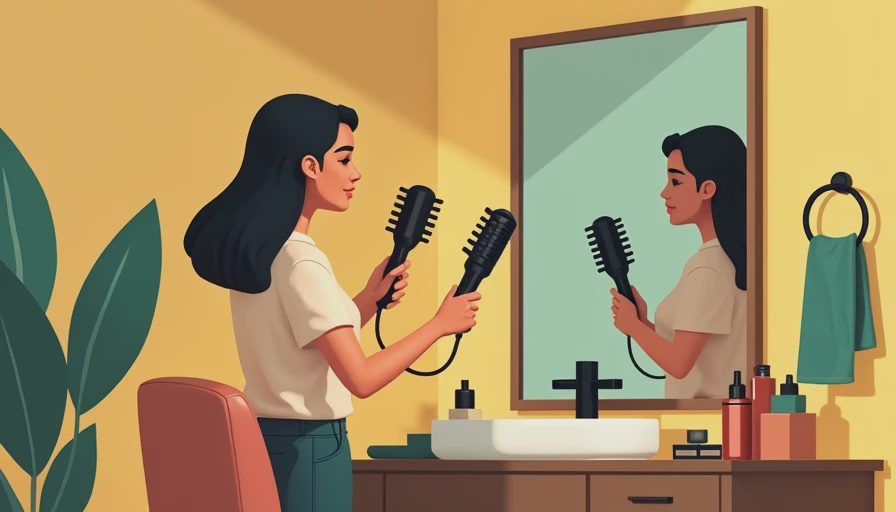
Start with completely dry hair. Brush out tangles, apply a heat protectant, and divide your hair into two or three manageable layers. Do not soak the hair with spray immediately before using a hot tool; let the product dry first. Wet product trapped against heated barrels can create uneven results and extra damage.
Set the temperature based on your hair rather than choosing the hottest option. Fine, highlighted, or dry hair often needs a lower setting, while coarse hair may need moderate heat. A 3 prong hair curler usually works best when you hold each section for about five to ten seconds, but begin with a shorter contact time and adjust. Hair should bend, not smell scorched.
Take sections roughly one to two inches wide. Place the tool near the roots without touching the scalp, press, release, and move down the same section if you want a continuous wave. For a more natural finish, leave the last inch or two straight. That small detail keeps the style from looking dated and makes it easier to tuck hair behind your ears during meetings.
Once the whole head cools, separate the waves gently with your fingers. A light flexible hairspray is usually enough for a normal office day. Heavy hairspray can make the pattern stiff and difficult to refresh. If your hair loses shape quickly, use a small amount of mousse before drying rather than layering strong spray afterward.
Choosing a 3 prong hair curler that earns drawer space
Look for a comfortable handle, a clear temperature display, and an automatic shutoff. The shutoff is not a luxury when you are getting children out the door and suddenly cannot remember whether the tool is still plugged in. A swivel cord also helps when you are styling the back of your head without twisting your wrist.
A 3 prong hair curler in the $25 to $45 range can be perfectly serviceable for occasional use. Models around $50 to $80 often offer better temperature controls, faster heating, and more substantial construction. You do not need to pay premium-brand pricing simply because the product photographs well. Remington and Bed Head commonly offer accessible styling tools, while T3 and Hot Tools are often considered when temperature control and build quality matter more.
Read the barrel measurements carefully. A tool that creates beachy waves on very long hair may look too large on a chin-length bob. Also check the clamp action. If it catches or pulls, you will spend more time fighting the device than styling with it. Pretty in theory does not count; the tool has to work when you have ten minutes and one hand free.
Common mistakes that ruin the result
The first mistake is using sections that are too thick. Heat cannot reach the middle evenly, so the outside looks waved while the interior falls flat. The second is holding the tool in one place too long. Longer contact does not automatically mean longer-lasting waves; it can leave dry ends and a sharp crease.
Another problem is starting at the same height on every section. If every wave begins directly beside the part, the roots can look puffy and the style too uniform. Alternate the starting point slightly, especially around the face. Keep the front pieces softer and avoid pressing too close to the hairline.
Do not brush immediately after styling. Let the hair cool for several minutes so the shape can set. If you need to leave right away, finish the back first, do makeup, then loosen the waves before walking out. A 3 prong hair curler creates a pattern quickly, but cooling still matters for hold.
Finally, clean the barrels occasionally. Product buildup can make the tool drag and create uneven heat. Unplug it, let it cool fully, and wipe the surface with a dry or slightly damp cloth according to the manufacturer’s instructions. Never use a metal object to scrape residue from a coated barrel.
Is this the right tool for your routine?
Choose a 3 prong hair curler if you want broad waves, need to style a lot of hair quickly, or struggle to make individual curls look even. It is particularly practical for second-day hair when the roots are acceptable but the lengths need shape. A little dry shampoo at the roots, followed by a few pressed sections through the mid-lengths, can make hair look refreshed without starting over.
Choose a single curling iron instead if you prefer changing curl direction, styling bangs precisely, or creating different shapes around your face. A flat iron can be more useful if you want both straightening and loose bends from one tool. There is no prize for owning the most specialized device. The best choice is the one you will actually use on a regular weekday.
For a dependable routine, allow about ten minutes for shoulder-length hair and closer to fifteen for thick or very long hair. Keep a heat protectant, sectioning clips, and flexible spray together so the process does not turn into a drawer search. With practice, you can create presentable waves before coffee finishes brewing.
A 3 prong hair curler is not magic, and it will not replace a haircut or solve every texture concern. It is a useful shortcut for a specific finish: soft, repeatable waves with less fuss than individual curling. Use moderate heat, protect the ends, and let the hair cool before loosening it. This is good for real life, not just bathroom lighting. If it can't survive a Tuesday, it's not worth it.